Physical Address
304 North Cardinal St.
Dorchester Center, MA 02124
Physical Address
304 North Cardinal St.
Dorchester Center, MA 02124

Discover the quirky side of San Francisco with a combo ticket to Ripley's Believe It or Not! Museum and the challenging Mirror Maze, all in one day.
Step into the world of the strange and extraordinary with the Ripley’s Believe It or Not! 2 Attraction Combo in San Francisco. This ticket grants access to the famous Ripley’s Believe It or Not! Museum located at Fisherman’s Wharf and the interactive Mirror Maze, providing a full day of bizarre artifacts and mind-bending fun. The experience spans over 10,000 square feet across two floors, making it a perfect choice for families, curiosity seekers, and anyone eager to explore the weird side of history and entertainment.
Priced at a reasonable full-day visit, this combo offers a chance to marvel at rare treasures and odd relics, then challenge perception with the challenging Mirror Maze. Visitors can cancel up to 24 hours in advance for a full refund, and the flexible booking options make it easy to plan ahead. With positive reviews and a top rating of 5/5 from six reviews, this experience is clearly appreciated for its fun, interactive, and family-friendly nature.
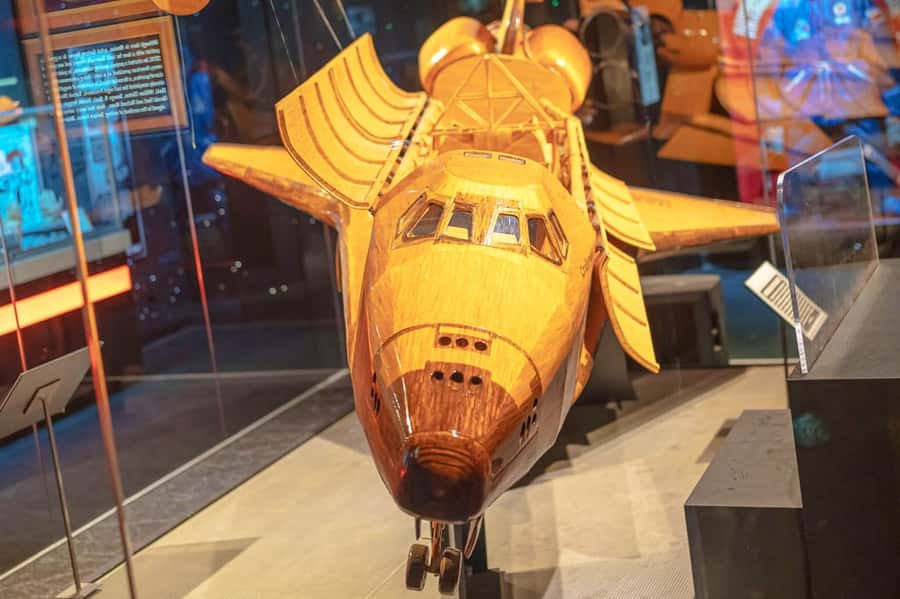
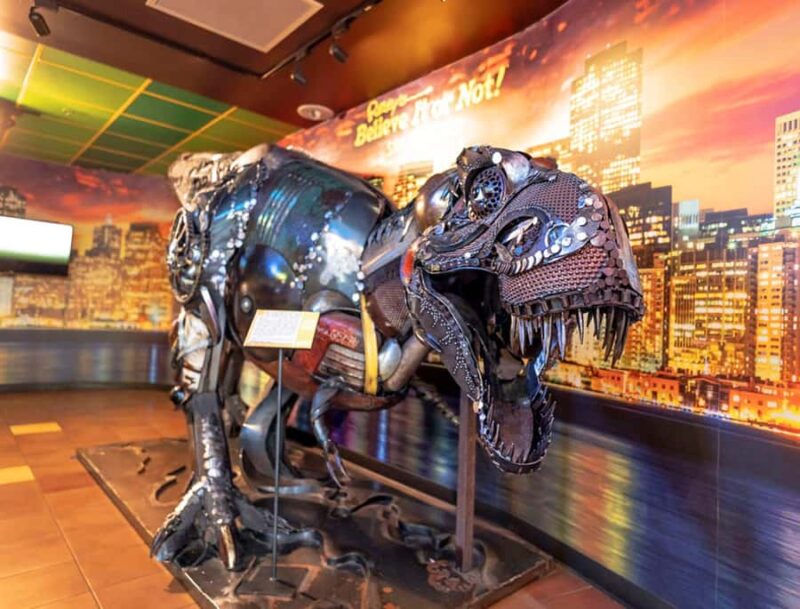
The Ripley’s Believe It or Not! Museum in San Francisco serves as the highlight of this combo experience. Spanning two floors and more than 10,000 square feet, it offers a deep dive into bizarre artifacts, rare treasures, and strange relics. Visitors find themselves captivated by exhibits that pay tribute to the odd, including tribal artifacts from around the world, one of which is an authentic shrunken head.
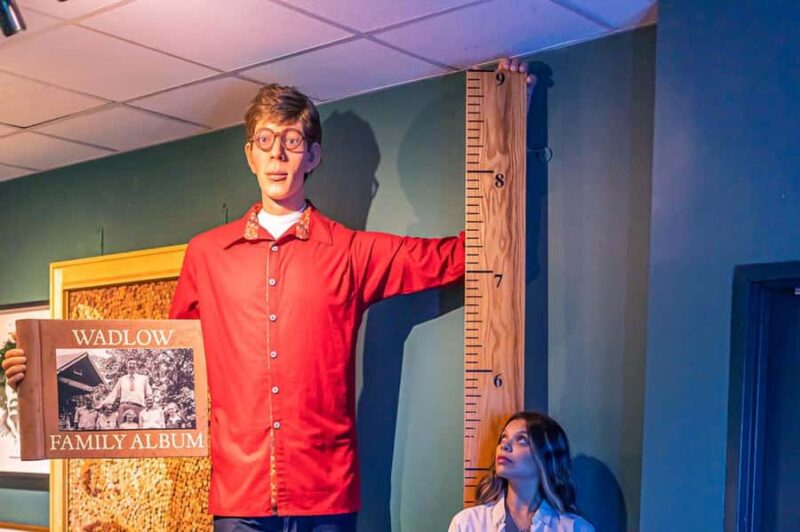
The interactive galleries allow visitors to explore weird and wacky art, learn about Robert Ripley’s life, and see strange animals and unusual people. Notable themed exhibits include Vampires & Graveyards, which features an original vampire-killing kit. The Odditorium is designed to be self-guided, giving visitors the freedom to explore at their own pace and spend as much time as they like with each exhibit.
The museum’s collection is curated to surprise and entertain, making it a must-visit for curiosity lovers. The exhibits are displayed in a way that educates while amusing, appealing to all ages. Visitors should plan to spend around 2-3 hours to fully appreciate the displays, and comfortable shoes are recommended for exploring the diverse exhibits comfortably.
Planning more time in San Francisco? We've covered other experiences worth considering.
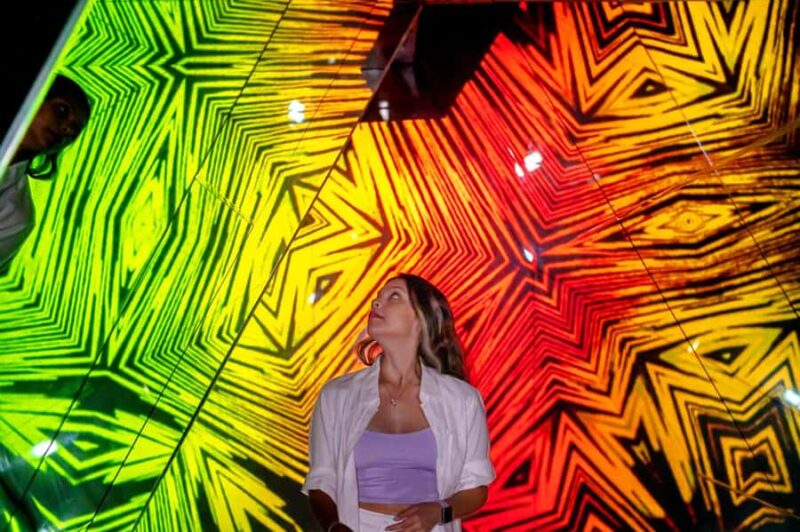
Following the museum exploration, visitors face the 2,000 square foot Mirror Maze, a challenging activity that tests perception and orientation. This maze comprises twists and turns through a labyrinth of mirrors designed to confuse and challenge.
The Mirror Maze is open to all ages, and it’s easy to see why it’s a favorite part of the combo. It provides a fun and interactive challenge, encouraging visitors to test their sense of direction as they try to find their way out. The maze is suitable for children and adults, making it an ideal activity for families or groups looking for some lively fun after exploring the artifacts.
Visitors should allow some time for navigating the maze, as it can be a quirky and entertaining experience. The maze is wheelchair accessible, ensuring everyone can have a shot at the challenge. Remember to bring your camera—the reflections and distorted corridors create great photo opportunities.
The full experience with both attractions is designed to be self-paced and adaptable to individual schedules. It is recommended to allocate 2-3 hours to enjoy the museum thoroughly and additional time for the Mirror Maze. The last admission is an hour before the site closes, so plan your visit accordingly.
Tickets are flexible: you can reserve now and pay later, making it easier to fit into your travel plans. The tour includes wheelchair accessibility, ensuring ease of access for visitors with mobility needs. Visitors should wear comfortable shoes and bring a camera to capture the fun moments and unusual artifacts.
Unlike some attractions, pets are not allowed, but assistance dogs are permitted. Photography is allowed, but flash photography is not permitted in certain areas, so plan your photos accordingly. Food and drinks are not permitted inside, so plan to grab a meal outside if needed.
This self-guided, flexible experience is perfect for travelers seeking a convenient and accessible attraction in San Francisco. The location at Fisherman’s Wharf makes it easy to include in a day of sightseeing. The ticket option allows for free cancellation up to 24 hours in advance, giving flexibility in case of changing plans.
The duration of the visit is about 2-3 hours, perfect for a half-day activity. The accessible design ensures that everyone can enjoy the exhibits and maze. For those with limited mobility, the wheelchair accessibility is a considerate feature.
More Great Tours NearbyThis Ripley’s Believe It or Not! and Mirror Maze combo offers a balanced mix of education, entertainment, and interactive fun. The museum’s collection of oddities is both informative and amusing, showcasing rare artifacts like tribal relics and wacky exhibits. Meanwhile, the Mirror Maze provides a challenging, playful activity that complements the museum experience.
The self-guided format means visitors can set their own pace, spending more time on exhibits that intrigue them most. The location at Fisherman’s Wharf adds convenience, allowing visitors to easily combine this experience with nearby attractions or dining options.
This tour receives high praise for its value and enjoyment, especially for families and fans of the bizarre. Its accessibility and flexible booking make it a practical choice for travelers wanting a fun, hassle-free activity in San Francisco.
Is the tour suitable for children?
Yes, the museum exhibits and Mirror Maze are designed to entertain visitors of all ages, making it ideal for families.
How long does the entire experience take?
It generally takes about 2 to 3 hours to explore the museum fully, plus additional time for the Mirror Maze.
Can I cancel my ticket?
Yes, full refund is available if you cancel up to 24 hours before your scheduled visit.
Is the Mirror Maze accessible for wheelchair users?
Yes, the Mirror Maze is wheelchair accessible, ensuring those with mobility needs can enjoy the challenge.
Are pets allowed inside?
Pets are not allowed, but assistance dogs are permitted.
Can I take photos inside?
Photography is allowed, but flash photography is not permitted in certain areas.
What should I bring?
Visitors should wear comfortable shoes and bring a camera to capture moments.
Are food and drinks permitted inside?
No, food and drinks are not allowed inside the attractions.
What is the location of the attractions?
Both are located at Fisherman’s Wharf in San Francisco.
How do I book tickets?
Tickets can be reserved online, with options to pay later and cancel without penalty up to 24 hours beforehand.
Is there a guide or tour guide?
This is a self-guided experience; no tour guide is provided, allowing visitors to explore at their own pace.
What makes this combo special?
The combination of bizarre artifacts and interactive maze offers a diverse, fun-filled day that appeals to curiosity, families, and fans of the unusual.
This San Francisco Ripley’s Believe It or Not! 2 Attraction Combo delivers a quirky, engaging experience packed into a single day. Its interactive galleries, rare relics, and challenging Mirror Maze make it a memorable activity for visitors looking for something different from traditional sightseeing. With flexible booking and excellent reviews, it remains a dependable choice for a fun, family-friendly outing in the city.
You can check availability for your dates here: